How to Install LED Strip Lights - The Easiest Guide

LED strips are becoming the best choice for home dressing in many homes. LED strips are more flexible and controllable than conventional light bulbs. Because of its strip-like appearance, it can be installed in dead spots on walls, allowing areas that would otherwise be difficult to illuminate to glow. As the strips are LED, they are both aesthetically pleasing and energy efficient, allowing you to enjoy the strip's glow in comfort.
To begin with, the following tools may be needed to install the LED strips.
- Scissors
- Tape measure
- Wet cloth, dry cloth
- Ladder (if mounting on the ceiling or outdoor eaves)
- 3M double-sided tape (strong adhesive)
Now we are ready to start.
Step 1: Determine the mounting surface
Determine where the light bar will be installed. Will it be indoors or outdoors?
Indoors: if it's a bedroom ambiance, you can install them on the edge of the bed frame, which will give you a cozy feel; if it's to enhance the color in the games room, you can press install them on the edge below the computer desktop, and on the wall behind the computer; if it's to add subtle color to the kitchen, you can add them under the countertop, or around the cabinets; if it's in the living room, you need to consider installing them on the edge of the ceiling, the around the walls can reflect the sense of ambiance of the living room space.
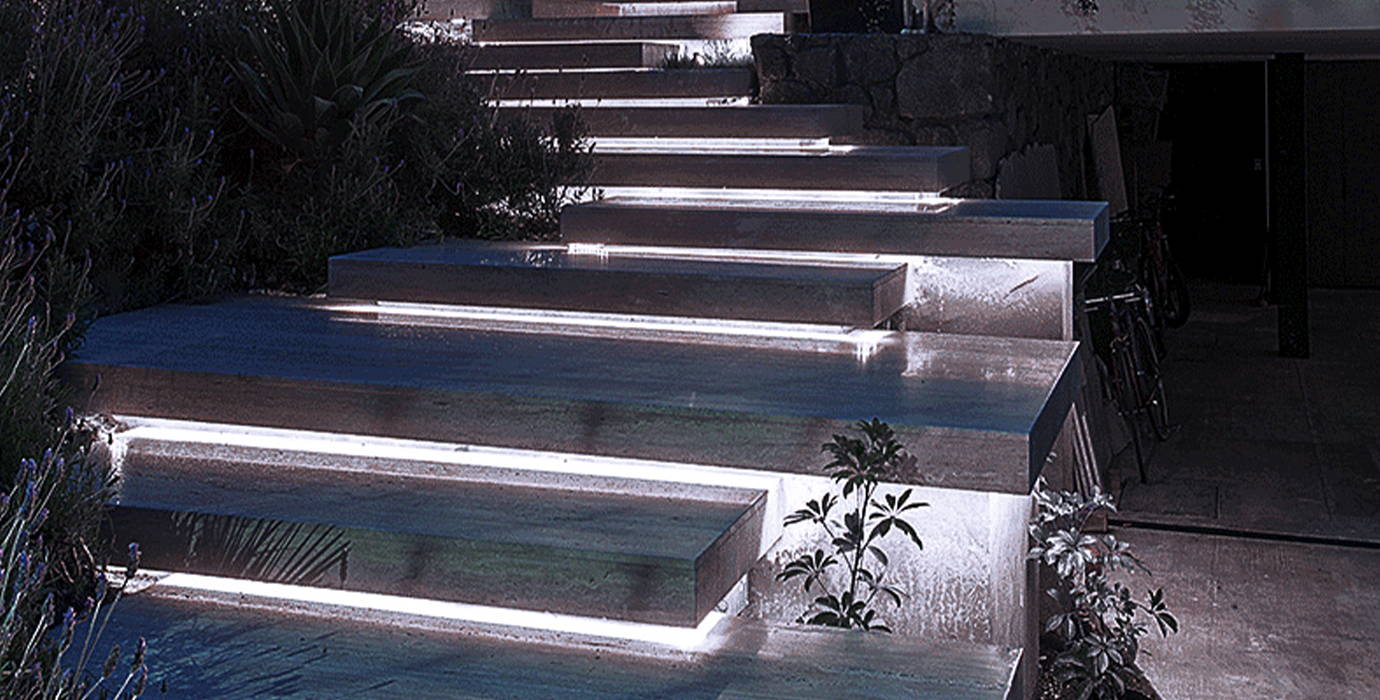
Outside: for a romantic look, the eaves of the house are the best place to install them; and of course, the fence of the house is the perfect place to add ambiance. When choosing, consider whether there is an outlet nearby to power the strip of light.
Step 2: Measure the mounting surface
Once you have determined the area where you want to install the LED strip, you need to measure the length of the installation. Determine the size of the length of strip you need to purchase.
Step 3: Adjust the length of the strip
If the mounting area of the strip is longer than the strip, you will need to purchase a separate strip before cutting and splicing.
If the strip is to be bent or attached at a 90-degree angle at the corner of a TV, bookcase, or wall, you can change the orientation by making a small loop or using a flexible connector.
If the installation area is shorter than the strip, trim the strip to the appropriate length along the marked line. Remember to cut according to the marked area on the strip to avoid damage to the strip. For your safety, ensure that the strip is unplugged before cutting or extending.
Step 4: Clean and dry the surface
Now that you have installed the strip, it is time to clean the mounting surface. First wipe the area with a damp cloth to remove any dust or grease from the surface, then dry it with a dry cloth or dry paper towel. It is important to note that if it is outdoors, a strong adhesive will be required for bonding as the outdoor environment is more unstable than indoors and strong adhesives are very strong and removal may damage the surface or wall. If you wish to move the strip light or reattach it to a different location after installation, we recommend that you use double-sided tape instead.
Step 5: Placing the strip light
Once the surface is prepared, installation is easy! First, peel the backing from the strip of lightweight adhesive. Then, press it onto the surface for at least 10 seconds or until the light is firmly adhered to its surface. Then, repeat the pressing and holding process every six inches along the entire length.
Finally! You have successfully completed the installation of the LED strip. Installing LED strips is not very complicated, if you are someone who likes to dress up their home décor, you can follow our tips and of course, we offer many high-quality waterproof, adjustable brightness LED light fixtures, all of which come with a 2-year warranty, find out more about the lamps through ONFORU now.
More Resources:
I upgraded my pantry and wanted even lighting on each shelf. The top-down light just wouldn’t cut it, so I used this around the inside door frame.
Leave a comment